⇐
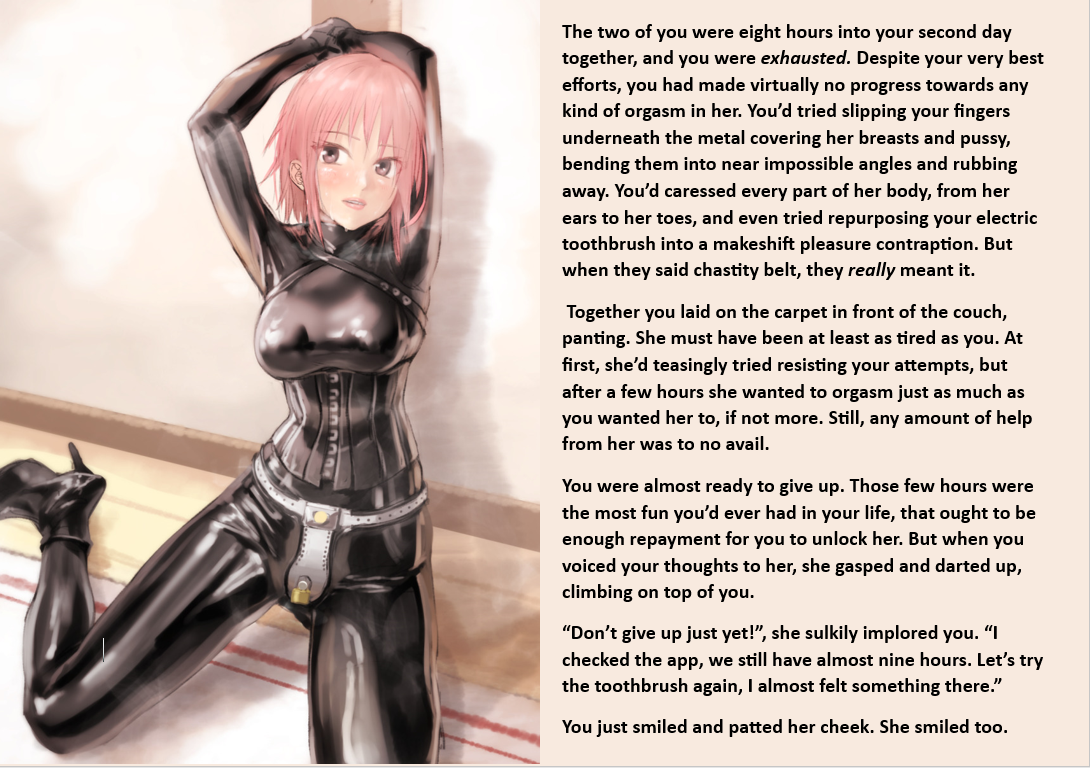
Her last hope - Part 3
[nsfw]
[Chastity]