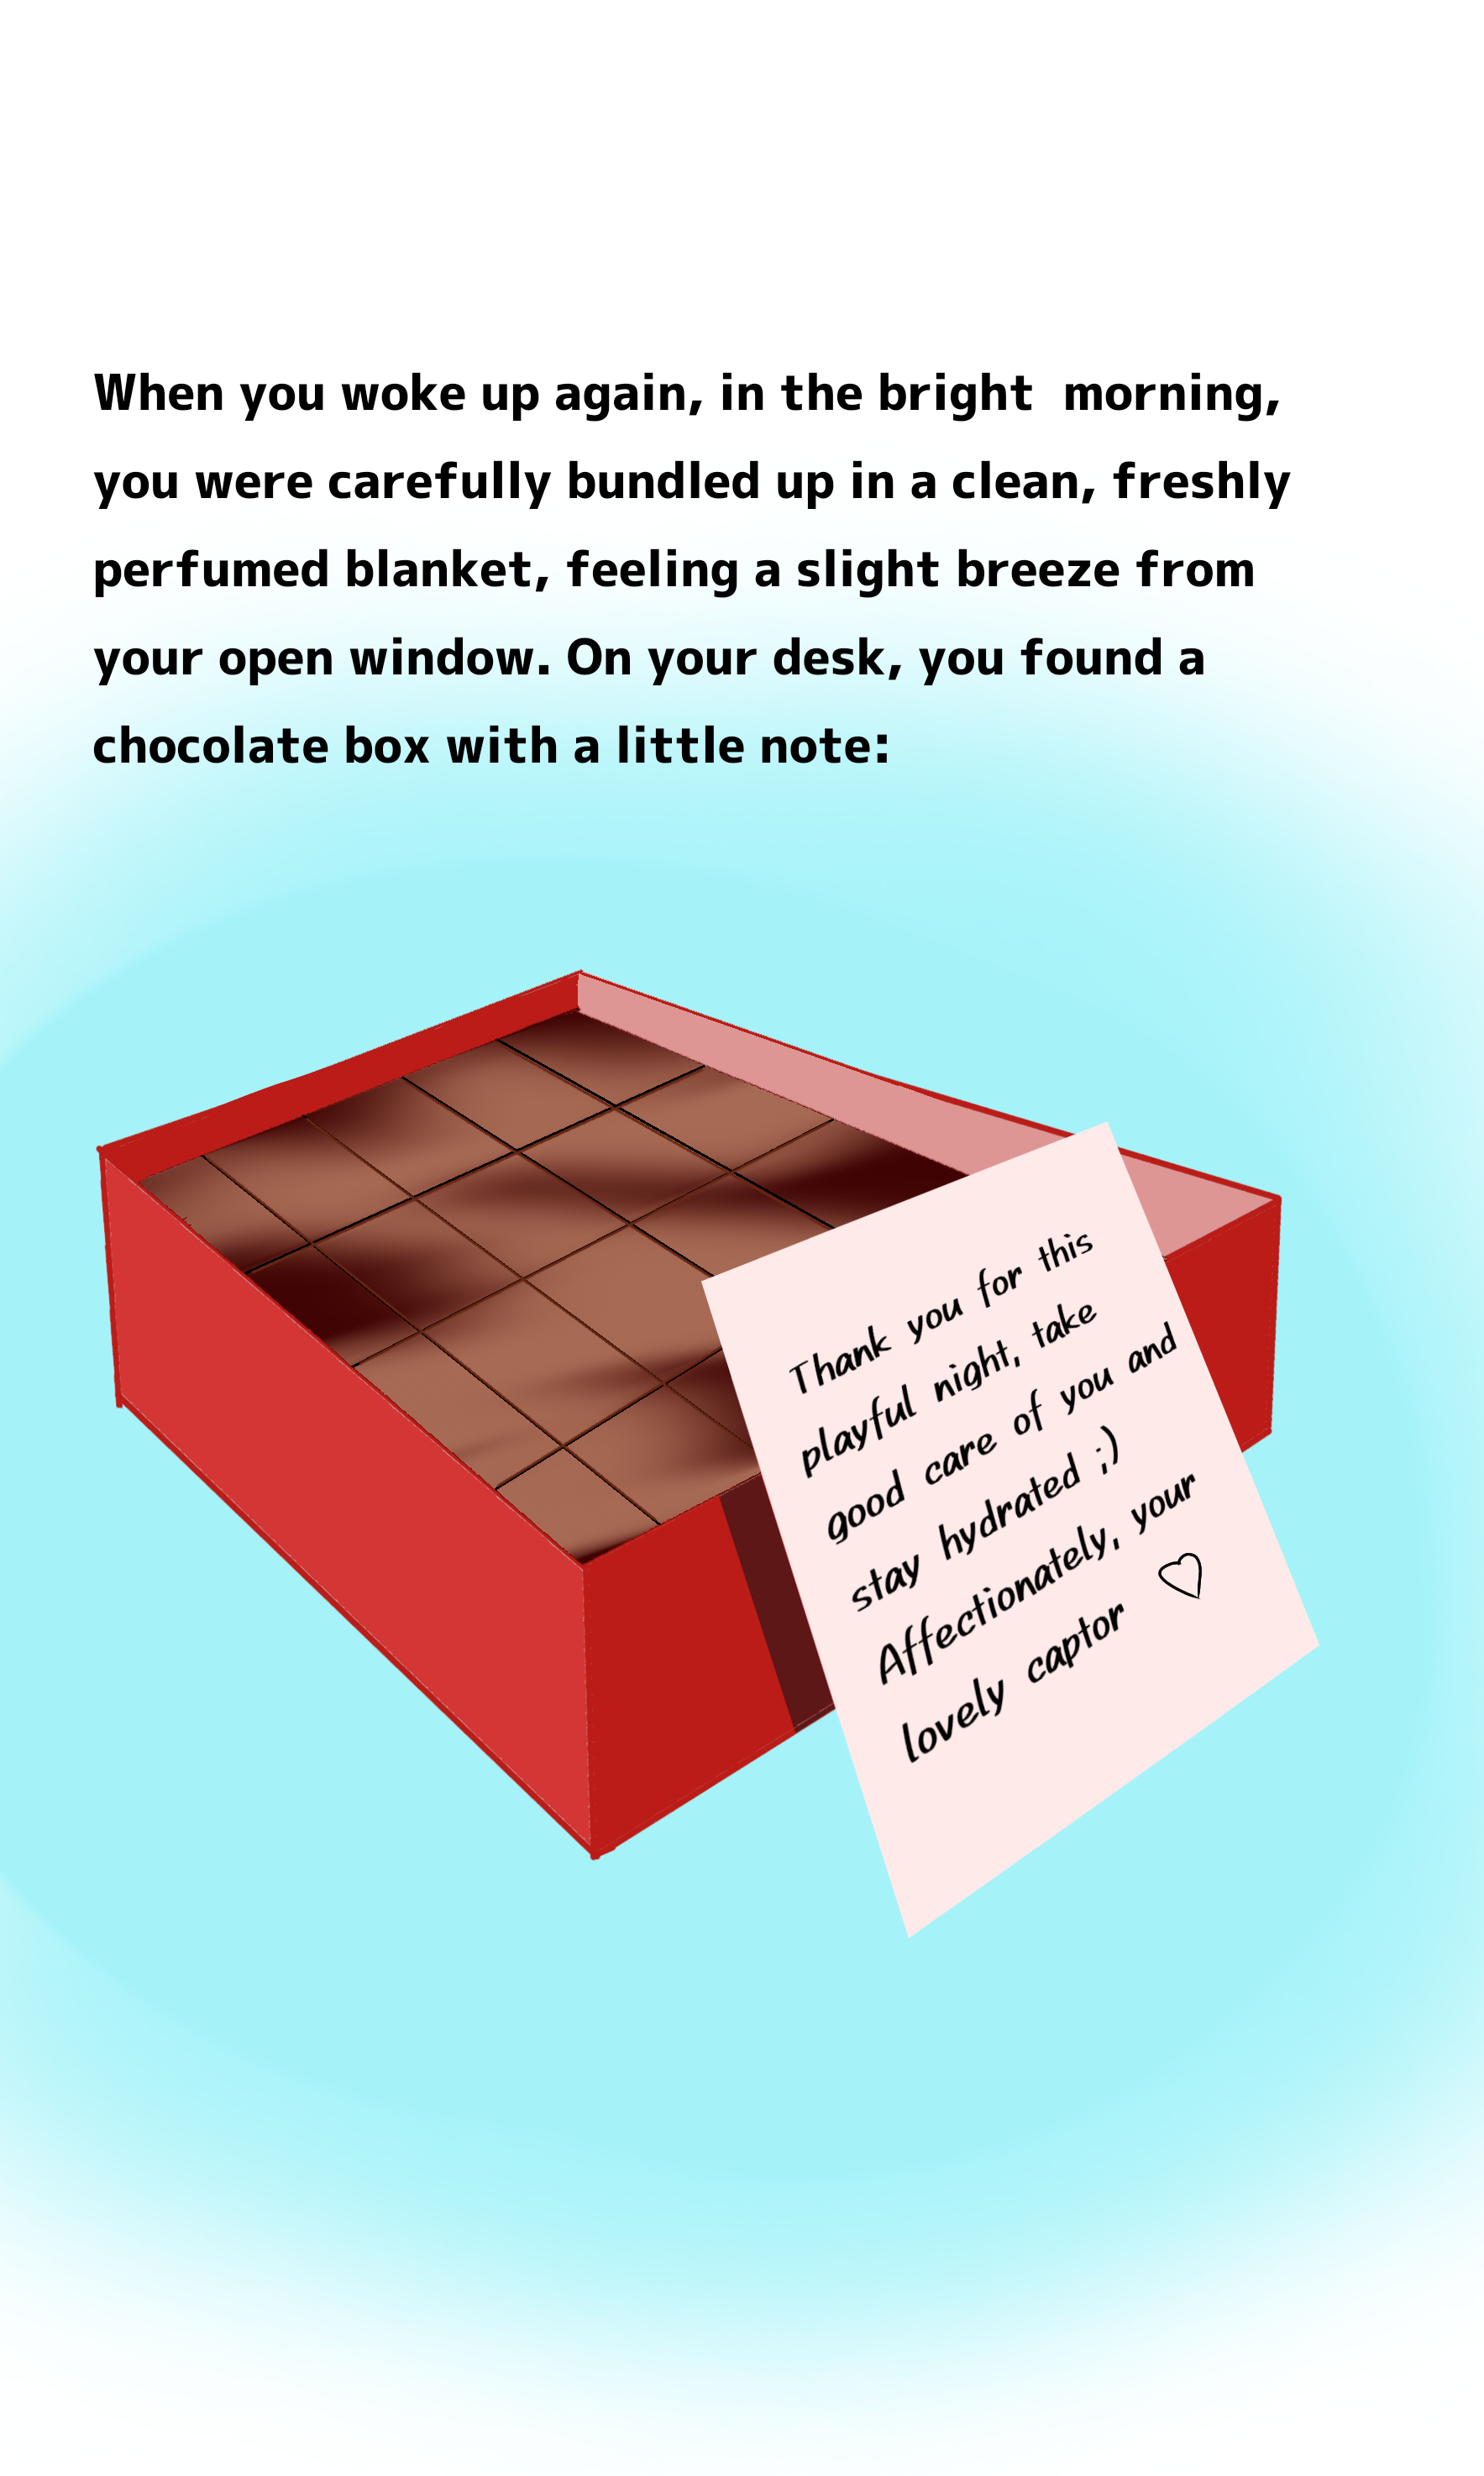
⇐
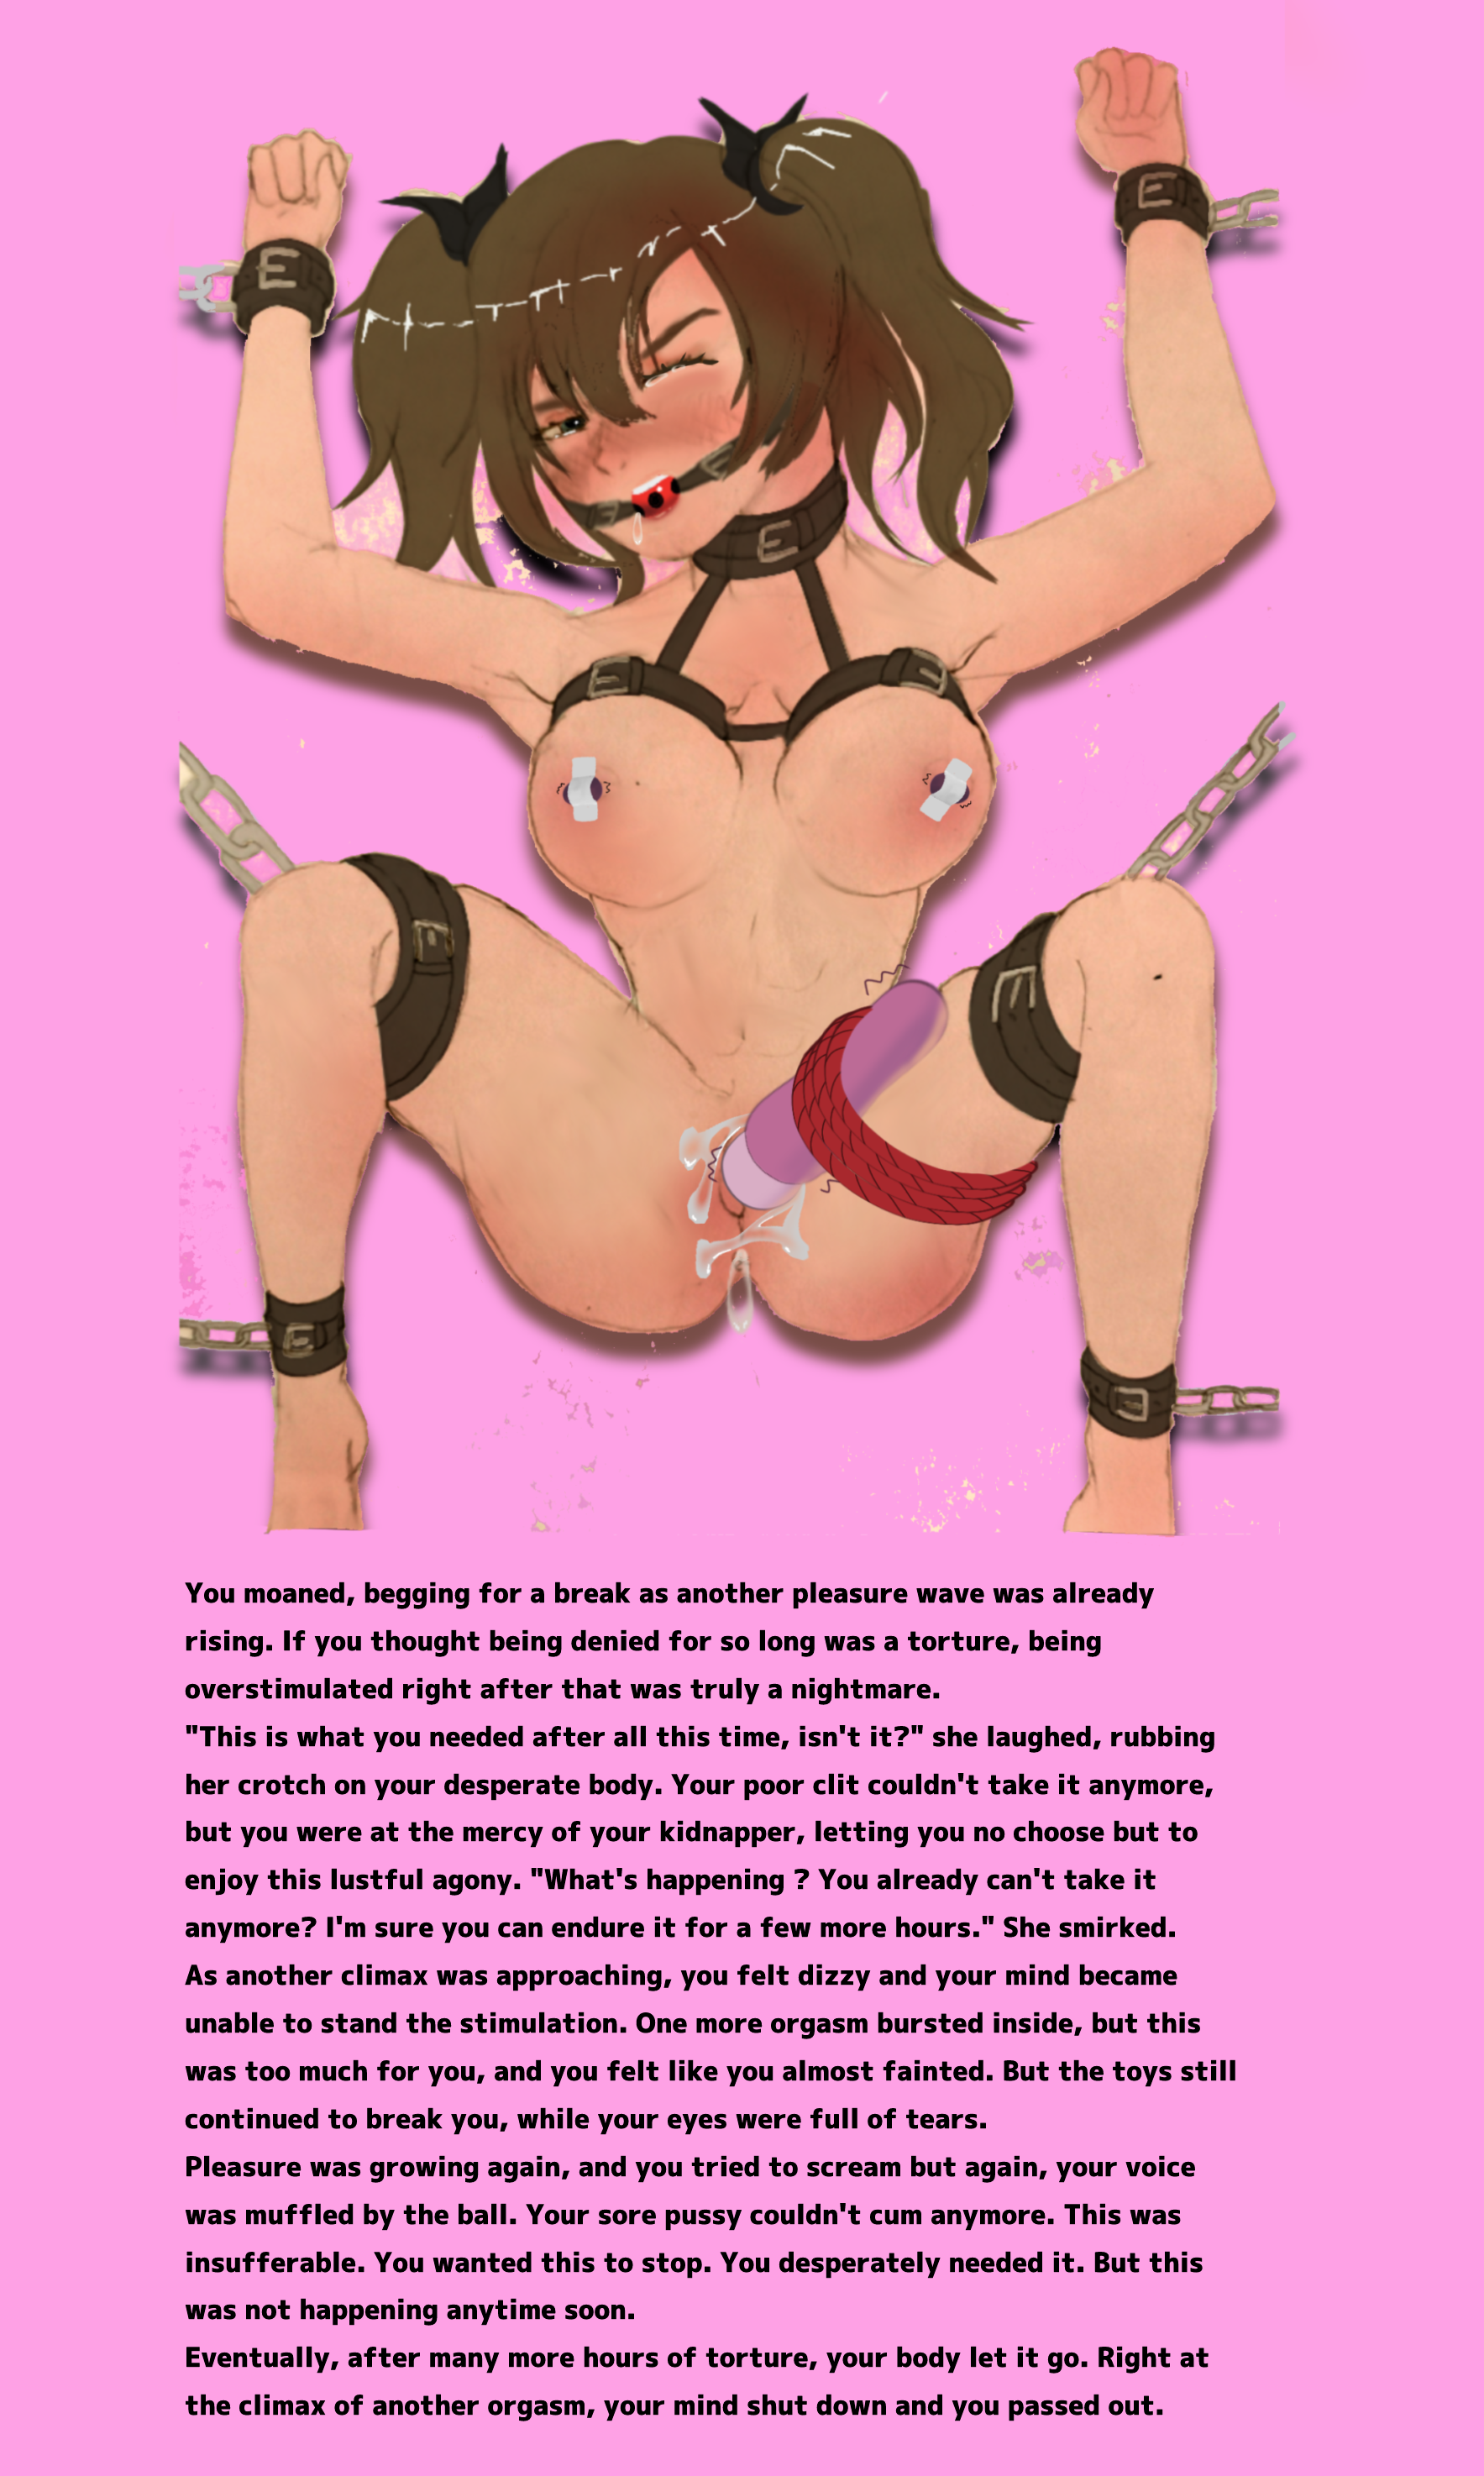
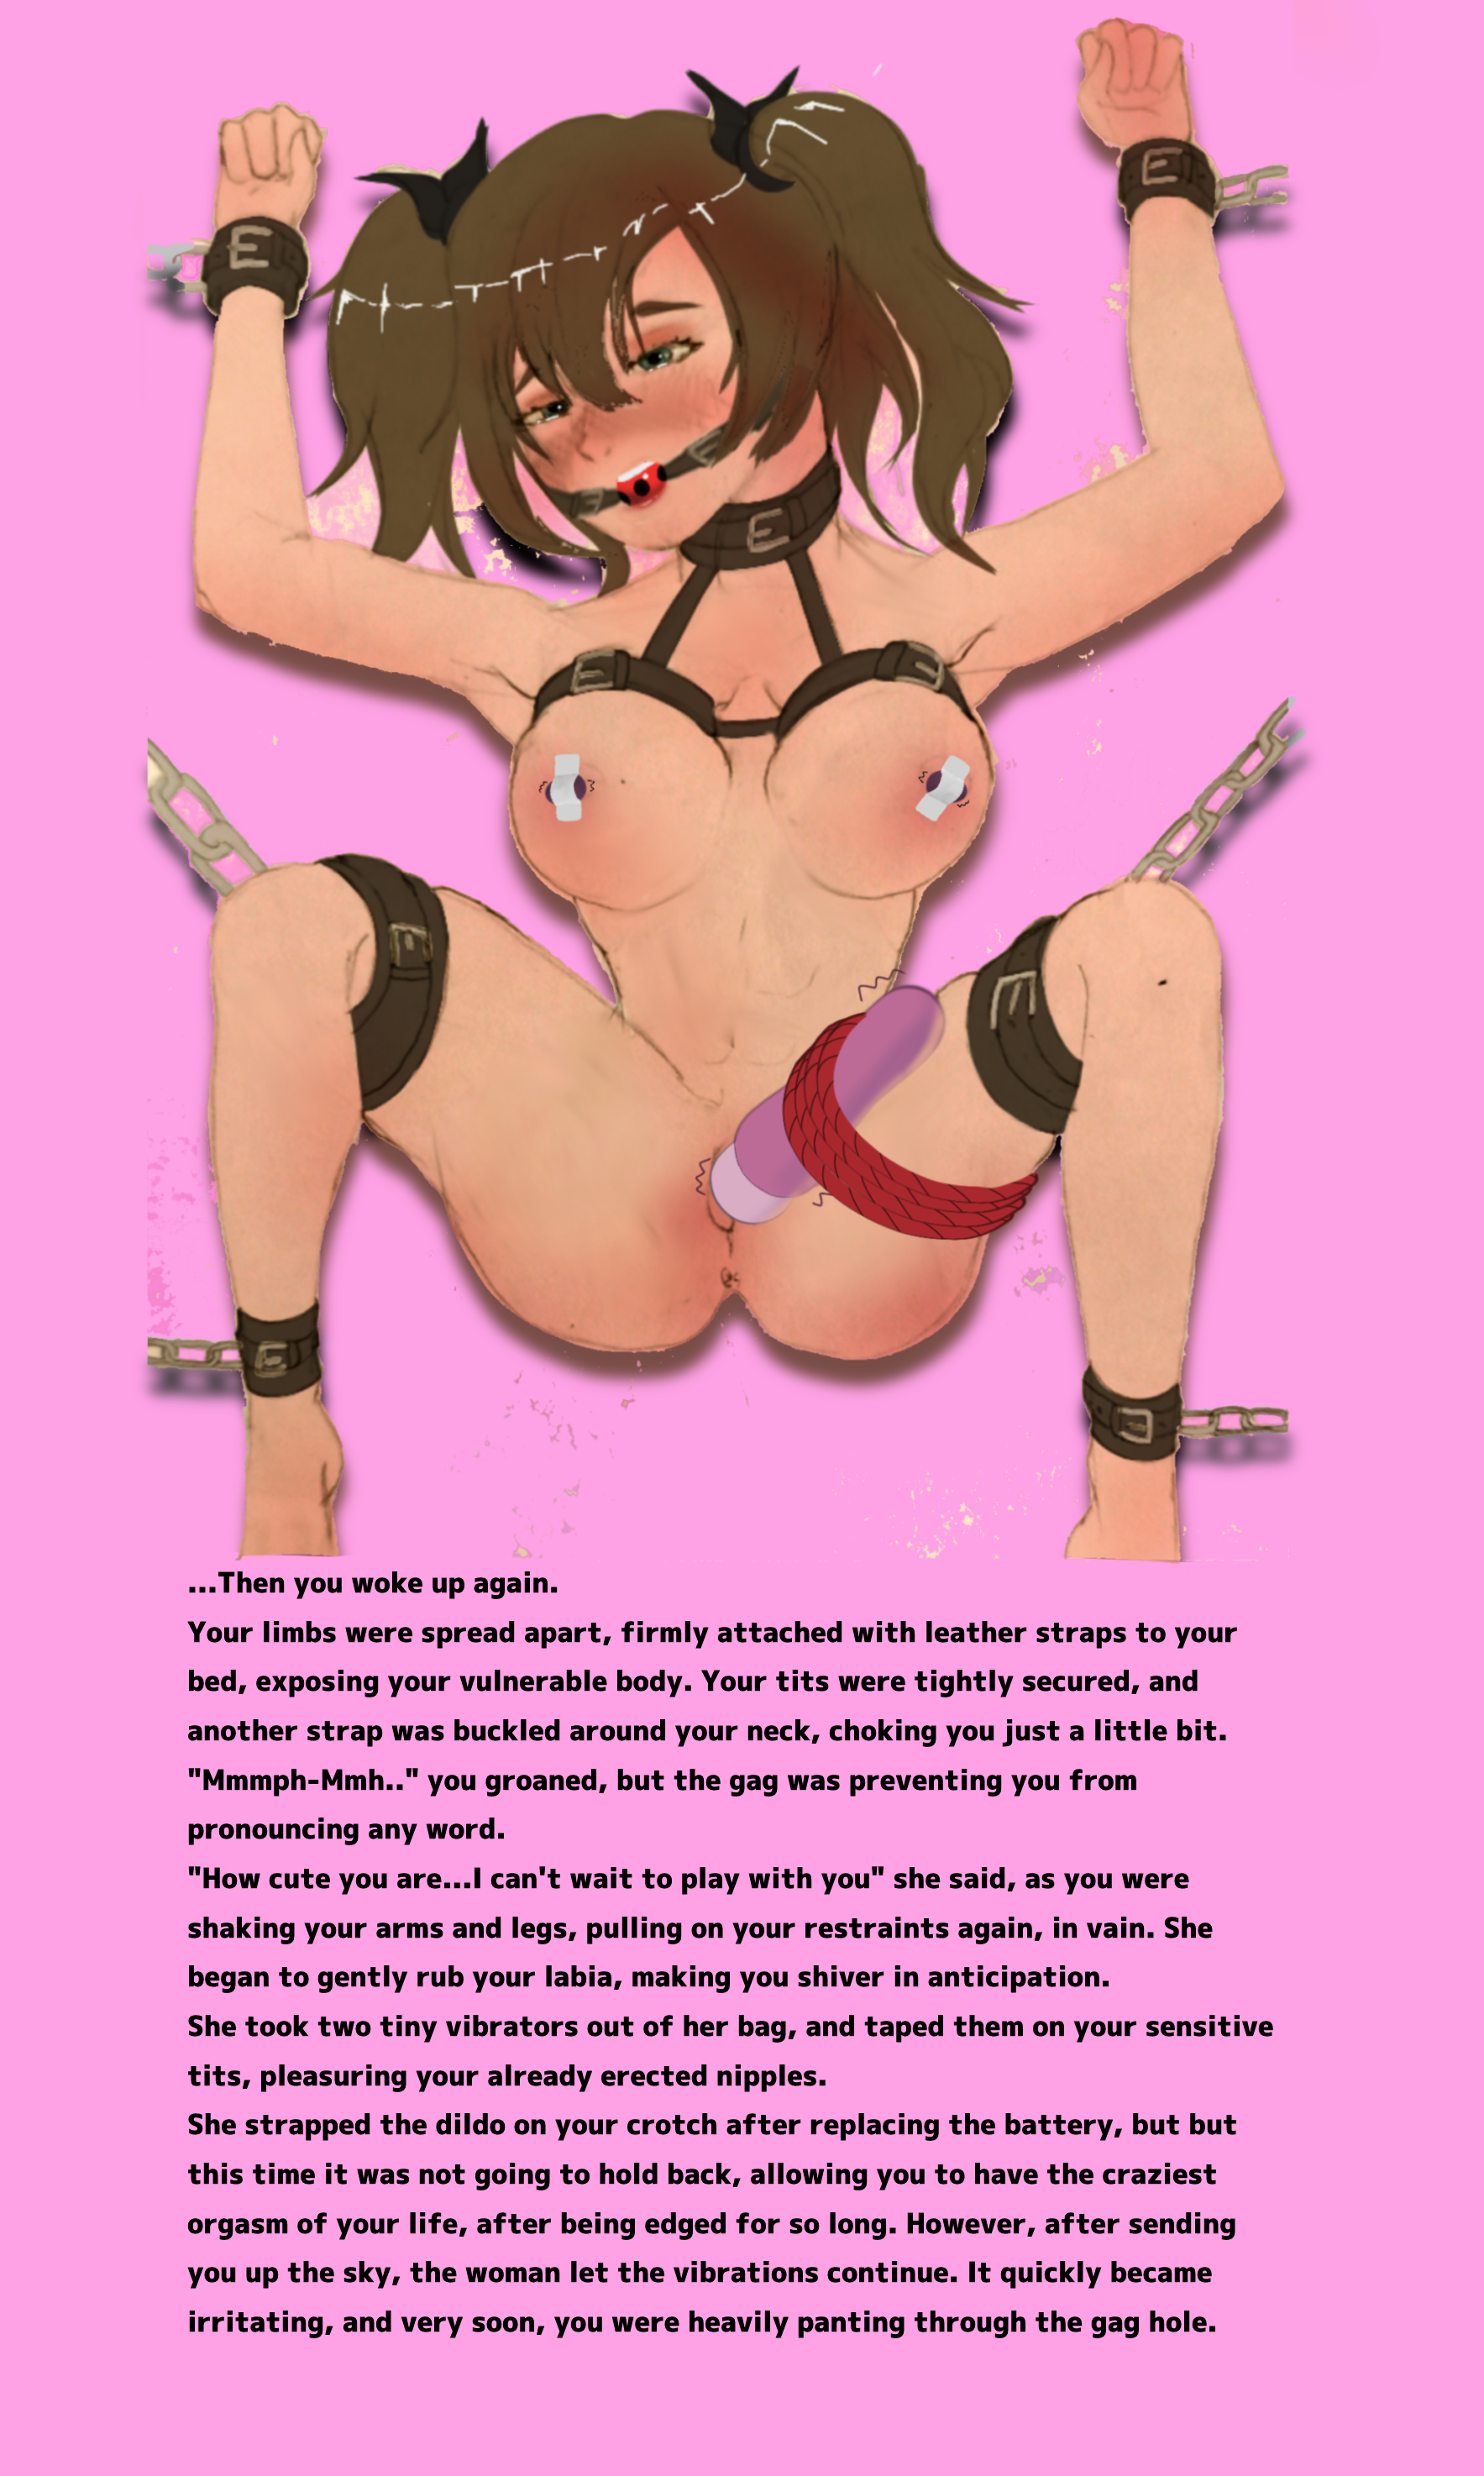
Waking up all tied (Part 2)
[nsfw]
[General Bondage]